An Unapproved Option Scheme sets out the rules to grant options to non-EMI team members (either because they are not a UK resident or because they don’t fall under the requirements of the scheme).
This guide will walk you through the full process of setting up your unapproved options scheme once you have purchased your Options Subscription.
1. Create an Option pool
Please follow along with this guide: How to create an option pool
2. Set up your Unapproved Option Scheme
Once you have successfully created the pool from which your options will be granted, you can now set up your scheme.
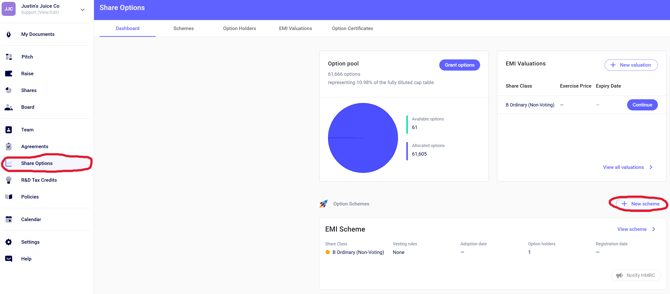
To do this, view the Share Options window on the left hand side of your SeedLegals Dashboard and then click '+New scheme'.
You will then be able to choose the terms of your scheme relating to vesting and exercise. These rules will be the default rules for each team member added to the scheme, however if you wish to, you can change the vesting rules when granting to specific team members.

There are a number of rules you will have to select, specifically those to do with:
-
Vesting; or, how your options are ‘earnt’ over a period of time. Our platform offers you the ability to choose how this occurs, whether by time (most common), or upon the arrival of certain customisable milestones.
-
Exercising options; or, the circumstances in which the options can be converted into shares. Allowing team members to exercise their options anytime can be a hassle, so you can limit option exercising to certain times of the year, or specific events. We have a handy guide here to help you decide the best fit for your company.
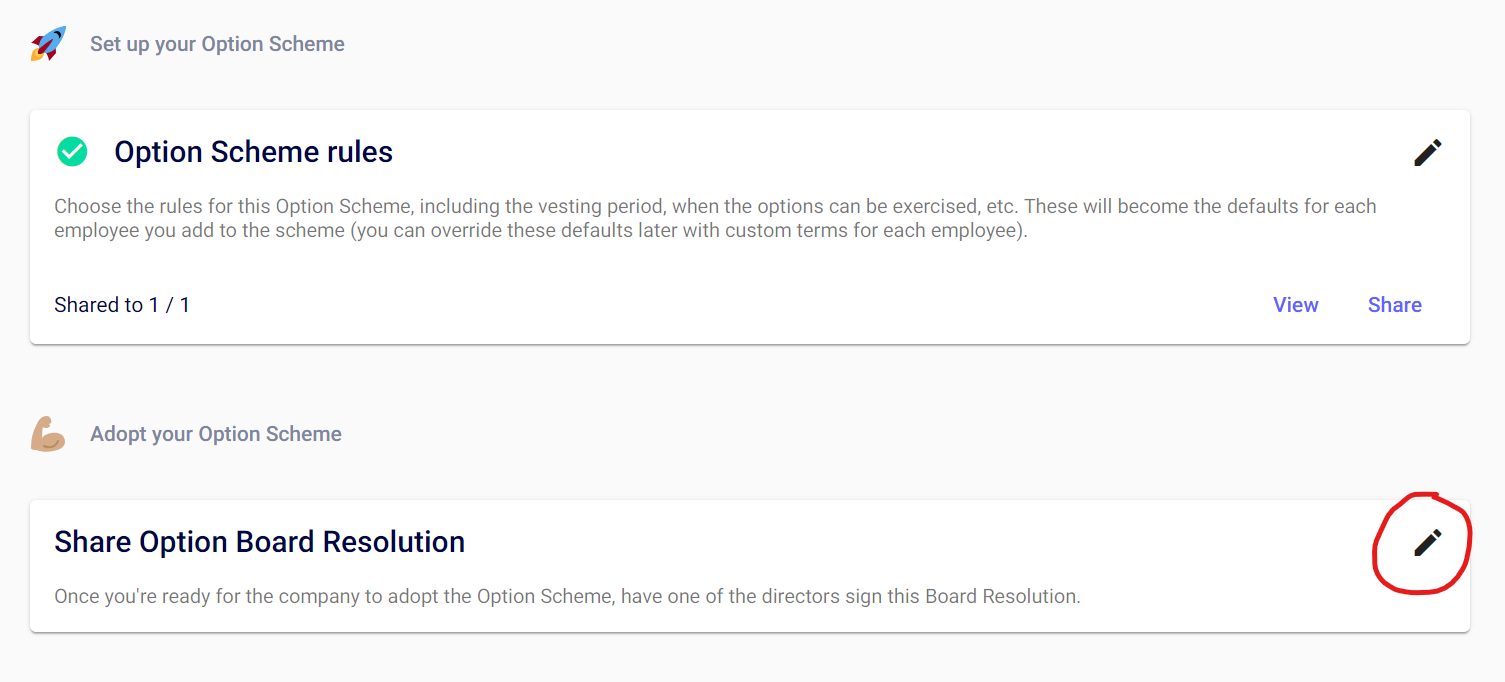
Once you have completed the unapproved scheme rules, then you are ready for the company to adopt the Option Scheme.
Please hold a board meeting and then enter the details of the meeting under the Board Resolution below. Then the chairperson will sign the Board Resolution. Then remember to press the blue adopt scheme button which will appear after you have finished this stage.
3. Grant Options
Now that you have set up your unapproved scheme you're ready to get that grant paperwork out of the door - nice!
Here are the steps:
a) Work out exactly how many share options you're going to give to each team member. It's likely that you promised a % of equity in a consultancy or advisor contract, but now you'll need to work out a fixed number of shares for the grant.
Because the % is diluted by a funding round, if you've accepted investment since the promise, you'll need to work out how many shares would have been granted before you accept new investment. And remember to always use the fully diluted total of shares (this includes the options pool) when working out percentages on your cap table - otherwise your maths will be off!
If any of that doesn't make sense - hit the chat button and we can advise.
b) Next, you can grant options to each individual. Select “Share Options” on the left menu and select “Grant Options”.
First you’ll create the option grant group, which will allow you to more efficiently deal with similar option grants. You’d be required to set up a group even if you’re setting up a grant for a single option holder. When you create the option group, you’ll need to select the relevant scheme. You can either click “grant options” on the dashboard, or click “create grant” on the option holders tab below:


Please see a detailed breakdown of how to set up option agreements here.
4. Issue the option certificates
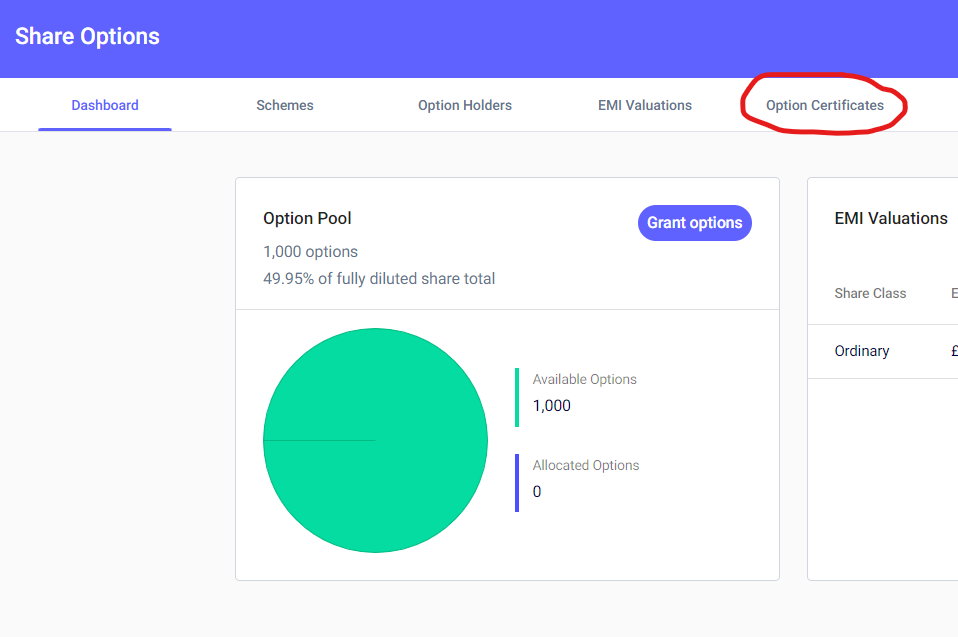
When the agreements are all signed and witnessed, go back to the Share Options window and click on the Option Certificates tab.
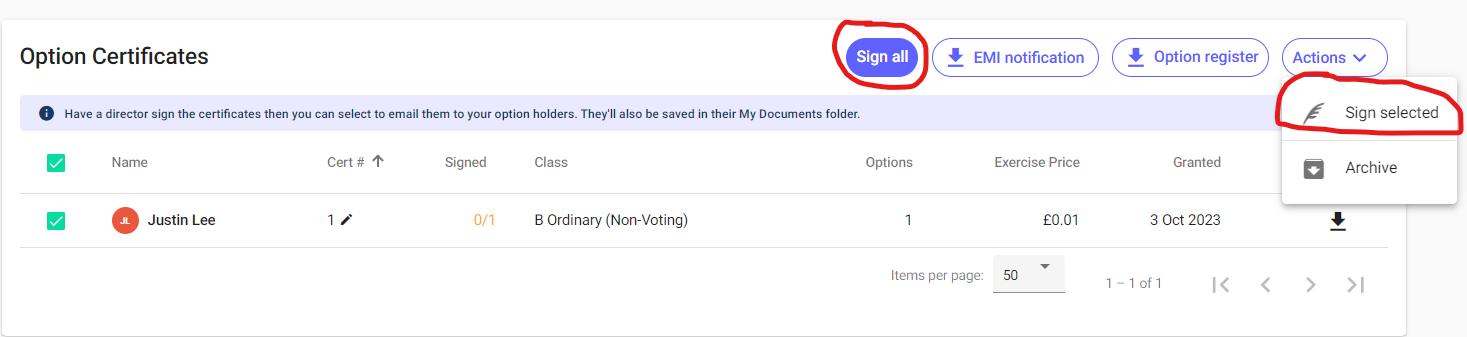
You'll then see the option certificates for your option holders. Hit Sign All for all of your Option Certificates, and Actions: Email Certificates to send them out to your options holders.
5. The team will complete a final review of your scheme
Please reach out through the chat button so a member of the team can complete a final review of your scheme and option grants.
If you have successfully followed all of these steps then congratulations, you will have successfully completed your unapproved options scheme. Which you can view at any time from the Share Options window on your dashboard.
As always with SeedLegals - we're here to support you every step of the way - so if you get stuck or need a bit of help - hit the chat on the bottom right.